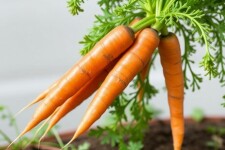
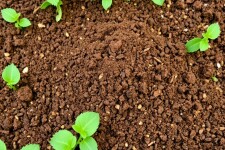
Saving seeds feels a little like time travel: you bottle up a summer’s worth of sunshine, soil, and flavor and tuck it away to remind your future self what you loved growing. Whether you garden to feed your family, to nurture pollinators, or just for the quiet satisfaction of coaxing life from a packet of dirt, learning to récolter et conserver ses graines pour l’année suivante (harvest and store your seeds for the next year) is one of the most rewarding skills you can adopt. It makes you more self-reliant, connects you to the seasons, and—best of all—lets you shape the varieties you grow over time.
If the idea of saving seeds makes you nervous because of the many little details, relax. This guide walks you through every major step: which seeds are worth saving, when and how to harvest them, how to clean and dry seeds properly, the best ways to store them for long life, and how to keep records so your saved seeds are reliable and useful next season. Along the way I’ll share practical tables, step-by-step lists, and a few friendly tips from gardeners who’ve turned seed-saving into an annual habit. Read through at your own pace; you’ll find that the process is mostly common sense once you know the patterns.
Why save your own seeds?
There are a dozen reasons gardeners begin saving seeds. First, it’s economical. A single tomato plant can produce hundreds of seeds; preserving even a few will save you money on seed packets in future years. Second, seed saving preserves varieties you love. Commercial seed catalogs tend to change offerings, and sometimes rare local varieties disappear—by saving seeds you are actively preserving diversity. Third, seeds saved at home adapt to your garden’s microclimate: over several seasons you’ll select plants that thrive in your soil, light, and pest conditions. It’s like slow, organic plant breeding.
Also, seed saving builds community. Swapping seeds with neighbors or participating in seed libraries helps share resilient varieties across regions. And finally, there’s the pure satisfaction of completing the growing cycle: flower, fruit, seed, repeat. That rhythm deepens your understanding of plants and the seasons in a way that container gardening or buying produce never will.
Understanding seed types and basic seed biology
Before you go harvesting, it helps to know a few basic categories. Seeds fall into broad groups that determine how you harvest and store them. Open-pollinated varieties reliably produce true-to-type offspring if pollination is similar to the parent; these are the easiest to save. Hybrids (often labeled F1) produce unpredictable offspring from saved seed—they won’t reliably resemble the parent plant. Self-pollinating plants (like tomatoes, peas, beans, and lettuce) tend to keep their traits with little isolation, while cross-pollinating crops (like corn, brassicas, and many cucurbits) need more care to prevent contamination from neighboring varieties.
There is also a difference between orthodox seeds and recalcitrant seeds. Orthodox seeds (most vegetables and many flowers) tolerate drying and cold storage—the seeds you can store for years. Recalcitrant seeds (some tropical trees and a few perennials) cannot be fully dried or frozen without losing viability; these require special handling and are generally not suitable for simple home seed storage.
Seeds are living tissue. They have a moisture content and metabolic rate; the lower the moisture and the cooler the temperature, generally the longer they’ll remain viable. But too dry can damage some seeds, and too wet will promote mold and rot. Conservation is about finding the right dryness and a stable, cool environment.
Planning ahead and preventing cross-pollination
If you want to save seeds that are true-to-type, you have to think about who pollinates what. Pollen can travel by wind, insects, or even by human hands. For self-pollinators like lettuce, beans, tomatoes and peas, keeping varieties separate by just a few feet is usually enough. For wind- or insect-pollinated crops, such as corn, brassicas (cabbage, broccoli), cucurbits (cucumber, squash, melons), and sunflowers, you need either physical isolation (distance), time isolation (stagger planting dates so they flower at different times), or mechanical methods (bagging, caging, or hand pollination) to keep varieties pure.
A few practical strategies: grow only one variety of a given cross-pollinating species if you can; use floating row cover or netting to keep pollinators away until you’ve hand-pollinated; or plant different varieties miles apart (not always practical). If you’re working at a small scale and want to practice, focus first on self-pollinators—those give you the most reliable results with the least effort.
When to harvest seeds: timing by crop
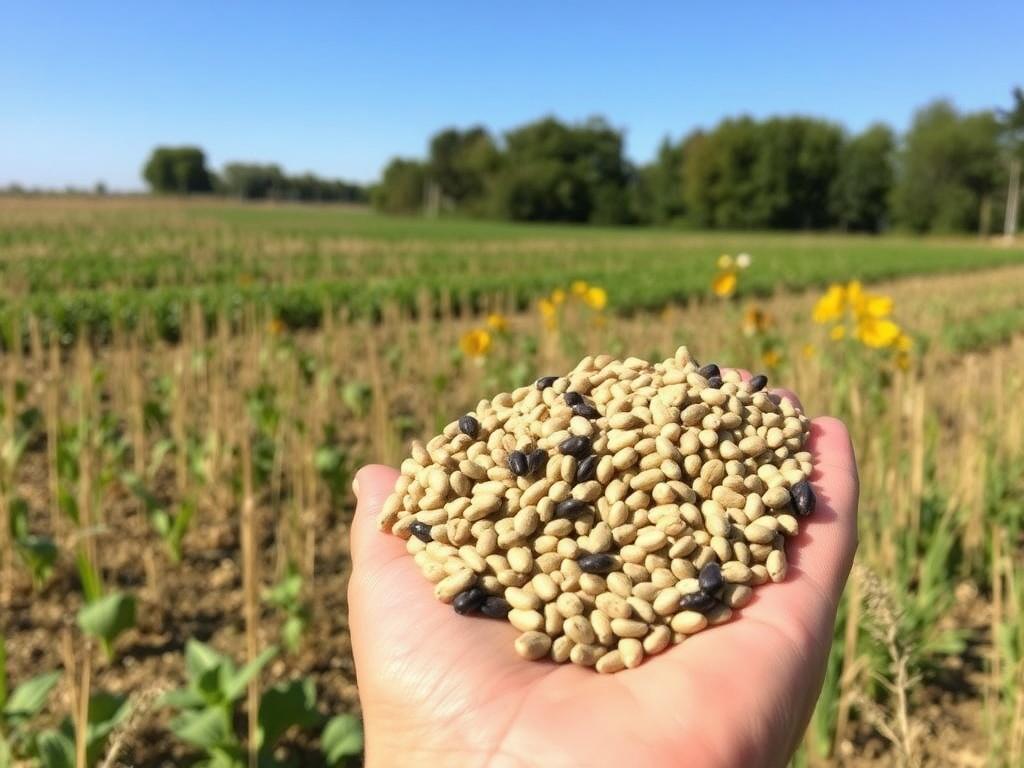
Timing matters. Pick seeds too early and they won’t be mature; too late and they may shatter or be eaten by wildlife. Different crops have different signals for readiness.
– Dry-seeded crops (beans, peas, grains, lettuce when left to bolt) are ready when pods or seed heads turn brown and papery. Harvest before heavy rain or before pods split on their own.
– Fleshy-fruited crops (tomatoes, cucumbers, melons, peppers) often need the fruit to be fully ripe or overripe for seeds to be fully mature. Tomatoes, for example, produce mature seeds a few weeks after the fruit is fully ripe—many gardeners let fruit overripen slightly before extracting seeds.
– Biennials (carrots, beets, parsnips, onions if left for seed) form seeds in their second year after vernalization. You usually must allow them to overwinter or mimic winter to get them to flower and produce seed.
– Some crops produce seed only under specific conditions (e.g., lettuce may need long days to bolt) so planning for year-round seed production is part of the learning curve.
Remember: seeds are mature when they’re dry and have ripened on the plant. If the fruit or pod is still soft or green, the seed will often be immature.
Step-by-step: harvesting seeds from common crops
Here are clear, simple methods for harvesting seeds from crops many gardeners grow. Follow the method for each crop group for best results.
Tomatoes
Tomato seeds are inside the gel around each seed. That gel contains germination inhibitors that are removed by fermentation. To save tomato seeds, choose fully ripe, healthy fruits from plants that express the traits you want. Scoop seeds and surrounding gel into a jar, add a little water, and let the mix ferment at room temperature for two to five days. Stir daily. The fermentation breaks down the gel and separates viable seeds (which sink) from debris (which tends to float). After fermentation, pour off the floating debris, rinse the seeds thoroughly in a fine sieve, then spread them to dry on a plate or paper towel in a well-ventilated spot out of direct sun. Drying may take a week or more; when seeds are dry and hard, store them.
Beans and peas
Beans and peas are among the easiest seeds to save. Leave pods on the plant until they dry and rattle. Harvest before heavy rains. Remove pods and shell them indoors, then lay seeds out on trays to finish drying if needed. For storage, make sure they are very dry (the pods themselves help with drying) and label them carefully.
Cucurbits: cucumbers, melons, squash
Cucurbit seeds are inside fleshy fruit; timing and method differ slightly between species. For cucumbers you want seeds from overripe, almost rotting fruit; for winter squash and melon you want fruit fully ripe. Scoop seeds with pulp, and use a water separation method similar to tomatoes: allow pulp to ferment slightly, rinse, and dry. Squash and pumpkin seeds can also be scooped, rinsed under running water, and spread to dry because their seeds are larger and easier to clean.
Leafy greens and lettuce
If you let lettuce bolt, it will produce a seed stalk covered in tiny seeds. Harvest when the seed heads begin to dry, then cut the stalks and allow them to finish drying in a paper bag or in a dry, ventilated area. Once fully dry, gently rub the stalks to free the seeds and winnow away chaff.
Brassicas (kale, cabbage, broccoli)
Brassicas are biennial and usually require cold over winter to flower. Let flower stalks go to seed, and collect the dry pods (siliques) when they start to brown just before shattering. Dry them indoors and thresh them to release small, round seeds. Sift and clean by blowing away the chaff.
Onions and carrots
Onions and carrots are biennials; save their seed in the second year when they form umbels of flowers. When the flower heads brown and papery, collect and dry. For carrots, seeds are small and mixed with plant debris; use simple sieves to separate. For onions, dry the flower heads and then thresh.
Flowers and herbs
Many flowers are straightforward: let seed heads dry on the plant, then collect and finish drying indoors. Herbs vary—basil seeds come from dried flower clusters, while parsley seeds need to be fully mature and dry before collecting. For aromatic herbs where the vegetative parts are used (e.g., rosemary), seed saving is less common but still possible.
Cleaning and drying seeds properly
Cleaning seeds removes pulp and debris that can encourage mold. Drying reduces moisture to a safe level for storage. The two steps are interlinked: insufficient cleaning followed by improper drying is a common reason saved seeds fail.
For fleshy fruits, start by removing pulp via fermentation (tomatoes, some cucurbits) or vigorous rinsing (larger seeds like squash, bean). For dry pods, shelling and sieving work well. After cleaning, spread seeds in a single layer on non-stick surfaces—glass, ceramic plates, or paper towels—inside a well-ventilated room out of direct sunlight. A fan on low can speed drying by moving air, but avoid blowing dust directly on seeds. Drying times vary: small seeds may dry in 3–7 days; larger seeds may take longer. Aim for seeds that snap or feel brittle rather than flexible.
If you need to accelerate drying or you live in a humid climate, silica gel packs placed in a sealed container alongside the seeds can help. Another method is a simple drying box: a cardboard box with holes and a small desk lamp above (not touching) to create gentle warm airflow—use caution to avoid overheating. The key is slow, even drying.
How to test seed viability (germination tests)
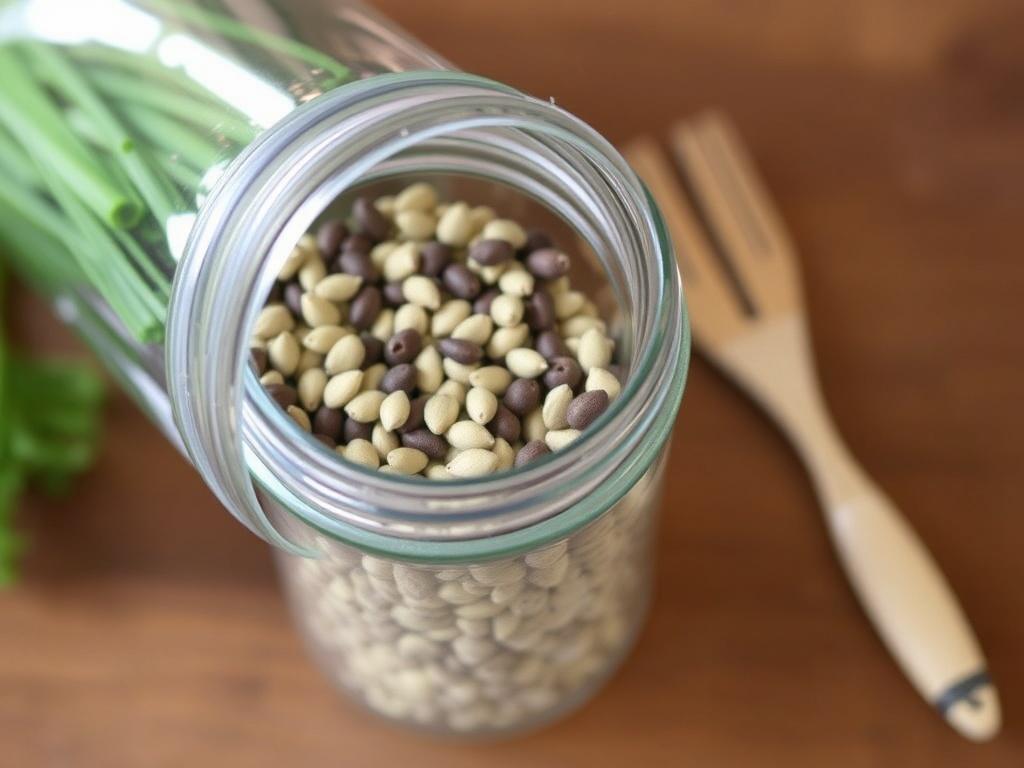
Before you store a big batch, test a sample for germination. A simple paper towel test tells you what percentage will sprout.
Steps for a germination test:
1. Place 10 seeds on a slightly damp paper towel (or use 20 for better statistical insight).
2. Fold the towel over the seeds, slip into a plastic bag or container to retain moisture, and place in a warm spot (70–75°F / 21–24°C is good for many vegetables).
3. Check daily and count how many seeds sprout within the expected period for that crop (for example, tomatoes often sprout in 5–10 days; beans may sprout in 7–14 days).
4. Calculate germination percentage: (number sprouted ÷ number tested) × 100.
If germination is high (80–95%), you’re good. If it’s low (below 50%), consider replanting and discarding poor batches unless you plan to reselect and improve vigor. You can keep seeds with lower germination, but expect reduced stands and consider sowing more densely or buying fresh seed for critical crops.
Packaging and storage — containers, temperature, and moisture control
Seeds last best in cool, dry, stable conditions. For many home gardeners the best practical solution is to put dry seeds into airtight glass jars with rubber seals or into sealed mylar bags with a desiccant, then store those containers in the refrigerator or a cool cellar. Avoid places with wide temperature swings (attics, garages) and keep them away from sunlight.
Common storage containers:
– Paper envelopes or heavy paper packets: cheap, breathable, good for short-term storage in dry climates.
– Glass jars with screw-top lids: excellent if seeds are bone-dry; add silica gel for extra security.
– Mylar bags or vacuum-sealed bags: very good for long-term storage if oxygen and moisture are removed.
– Freezer storage: many experienced gardeners freeze thoroughly dried seeds in airtight containers; freezing low-moisture seeds can dramatically lengthen life. Only freeze seeds that are fully dry and protected against condensation.
Relative humidity control is critical. The rule of thumb is: 1 percent reduction in seed moisture roughly doubles useful life for many seeds. Silica gel packets or rice (less reliable) can help. Label everything with variety name, harvest date, and a quick note about the harvest conditions.
Seed storage life: a helpful table
Below is a practical table showing typical storage lifespans under good conditions. These are estimates—actual longevity depends on initial seed quality, how well they were dried, and storage conditions.
| Crop Group / Example | Typical Storage Life (Room Temp, 15–25°C) | Refrigerated (≈4°C) | Freezer (-18°C) if fully dry | Notes |
|---|---|---|---|---|
| Tomato | 4–6 years | 6–8 years | 10+ years | Needs fermentation to clean; freeze only when bone-dry |
| Beans & Peas | 3–5 years | 5–8 years | 8–12 years | Store very dry; large seeds tolerate storage well |
| Lettuce | 1–2 years | 2–4 years | 3–5 years | Short-lived; save fresh every few years |
| Onion | 1 year | 2–3 years | 3–5 years | Variable; often best to resupply annually |
| Carrot | 2–3 years | 4–6 years | 6–8 years | Small seeds—clean carefully |
| Cucurbits (cucumber, squash, melon) | 3–5 years | 5–8 years | 8+ years | Dry well after cleaning; watch for mixed varieties |
| Corn | 1–2 years | 2–4 years | 4–6 years | Store dry and cool; viability drops faster than many crops |
| Herbs & Flowers | 2–5 years (varies) | 4–8 years | 6–10 years | Wide variation—check specific species |
Labeling and record-keeping: your future self will thank you
Good labeling is as important as good drying. A jar with no label is just a future mystery. Use permanent ink on waterproof labels, or write on the lid with a marker. Each seed packet or jar should include variety name, harvest date (month/year), source (if you saved it from a plant you purchased or received), and a short note (e.g., “fermented,” “low germination,” “selected for largest fruit”). Keep a master seed inventory, ideally on paper and backed up digitally, tracking quantity, germination test results, and when you planted seed from that harvest.
Here’s a simple sample inventory table you can recreate:
| Seed | Variety | Harvest Date | Stored Qty | Germination % | Notes |
|---|---|---|---|---|---|
| Tomato | Brandywine | Sept 2024 | ~200 | 88% | Fermented; healthy parent plants |
| Bean | Blue Lake | Aug 2024 | ~500 | 92% | Dry pods stored in jar |
| Lettuce | Buttercrunch | July 2024 | ~1200 | 55% | Low germination; plan reselect |
Common mistakes and how to avoid them
There are a few recurring pitfalls gardeners hit when they first save seeds. The top offenders are: storing seeds that are still moist (leading to mold), not labeling, not isolating cross-pollinators, and assuming hybrids will breed true. Avoid these basic errors and you’ll save yourself a lot of disappointment.
Other mistakes include storing in warm, humid places (closet vs. refrigerator), mixing seeds from different varieties into one container, and failing to test germination before depending on a batch. If you live in a humid climate, invest time in proper drying methods (silica gel, low heat, or dehumidified rooms) before storage. If you’re unsure whether a seed batch is mature, it’s safer to wait one extra week before harvesting—immature seeds do not store well.
Practical supplies: what to have on hand
A modest toolkit makes seed saving easy and tidy. You don’t need expensive gear—most gardeners get excellent results with simple items.
- Paper envelopes, small paper packets, or coin envelopes for short-term storage
- Glass jars with tight lids for longer-term refrigeration
- Silica gel packets or desiccant pouches
- Labels and permanent marker
- Small trays or plates for drying
- Fine mesh sieve for cleaning small seeds
- Cheaper kitchen strainer or colander for larger seeds
- Mesh bags or floating row cover for controlled pollination
- Notebook or spreadsheet for records and germination test results
Advanced seed-saving tips: selecting and improving varieties
Once you’ve mastered the basics, you can move toward deliberate selection—choosing plants each year for traits you want and discarding weak performers. This is how communities historically adapted crops to local conditions. Selecting is simple: choose the healthiest, most productive, or tastiest plants as seed parents. Roguing means removing plants that show disease, bolting, or undesirable traits from your seed-producing area so they don’t contribute pollen or seed.
To maintain genetic vigor, save seed from multiple parent plants rather than just one. For small crops like tomatoes, save seed from 8–12 plants. For larger or more genetically diverse species, save from many more. If you want to stabilize a new local variety, maintain a larger breeding population over multiple years and practice selection for the traits you favor. Hand pollination and bagging can enforce crosses if you want to combine traits.
Legal and ethical considerations
Most open-pollinated, heirloom varieties are free to save and share. However, varieties protected by plant breeders’ rights, patents, or certain hybrid proprietary agreements may be restricted; saving seed from some patented cultivars may be illegal or subject to license terms. If in doubt, check the seed packet or the supplier’s terms. Ethically, many gardeners support sharing and conserving local varieties, so seed swaps and seed libraries are excellent community resources—but always respect proprietary restrictions.
Keep in mind disease management: do not share seeds from plants affected by systemic diseases that can be seed-transmitted. Clean seed and reputable diagnostics help reduce risk.
Community resources: swapping, libraries, and seed networks
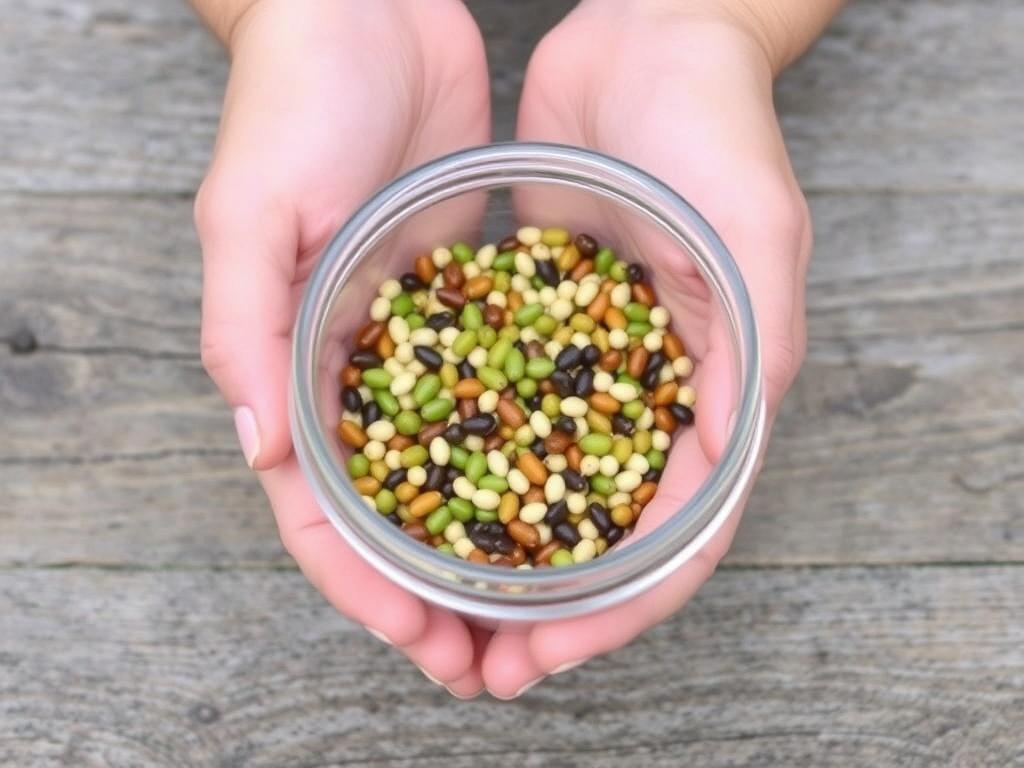
Seeds multiply community resilience. Seed swaps and seed libraries let gardeners try many varieties and share locally adapted genetics. Many towns now have seed libraries hosted by libraries or community gardens. Seed banks and conservation groups also help preserve rare varieties. When participating in swaps, label clearly and include growing notes—this generous exchange keeps diversity alive.
However, be cautious sharing seeds from crops with known seed-borne diseases; disclose any issues and only share healthy seed. Investing a little time in germination tests and disease checks before swapping keeps the whole network healthy.
Seasonal timeline — a simple year-round routine
If you want a compact seasonal plan for seed saving, use this timeline as a template and adapt to your climate:
- Late spring: Plan which crops you’ll let go to seed; mark plants and isolate varieties as needed.
- Summer: Select healthy parent plants; begin harvesting seed of early crops (lettuce, peas if pods dry in summer).
- Late summer to early fall: Harvest most seeds (beans, tomato processing and fermentation, drying pods).
- Fall: Finish drying seeds and perform germination tests; package and label.
- Winter: Store seeds in a cool, dry place; inventory and order any varieties you can’t save at home.
- Next spring: Start seeds with appropriate sowing depth and rate adjusted for germination percentage.
This routine will evolve as you learn which crops you enjoy saving and which require more attention.
Practical troubleshooting: what to do when things go wrong
Mold appears on seeds: That usually means seeds were stored while still moist. If mold shows up early, spread seeds again to dry thoroughly in a warm, ventilated place and remove any obviously affected seeds. If mold developed in a sealed jar in the refrigerator, you may need to discard that batch.
Low germination: Run a germination test to know the rate. If it’s low but not zero, sow more densely or mix fresh purchased seed with your saved seed. Over time, reselect vigorous plants to improve future batches.
Crossed varieties: If you discover a cross happened, decide whether the new traits interest you. Sometimes accidental crosses yield valuable novelty varieties. If you want purity, replant and increase isolation distances or use bagging next season.
Lost labels: If you find unlabeled seeds, try germinating a few to see what emerges. Keep curious packets clearly separated and re-label once you know.
Final notes and encouragement
The first few seasons, you may feel overwhelmed by details. Start small: save seeds from tomatoes, beans, and peas—these give fast, gratifying results and teach the basic principles. As you gain confidence, add cucurbits, lettuces, and brassicas. Keep good notes; seed saving is cumulative. What you learn about one variety informs how you handle the next.
When in doubt, ask fellow gardeners, local extension offices, or online seed-saving forums. Many communities have experienced seed savers willing to mentor newcomers. Seed saving is as much social practice as technical skill, and you’ll find the joy multiplies when you begin sharing the literal fruits of your work.
Conclusion
Saving seeds is a gentle, practical way to deepen your relationship with the garden and with time itself: a small, patient investment each growing season rewards you with adapted varieties, savings, and the quiet satisfaction of closing the loop. Start small, keep things dry and labeled, test germination, and enjoy the process—before long, récolter et conserver ses graines pour l’année suivante will feel as natural as planting in spring.

